

GUIDE · Claude Code ·
A video from one prompt in Claude Code
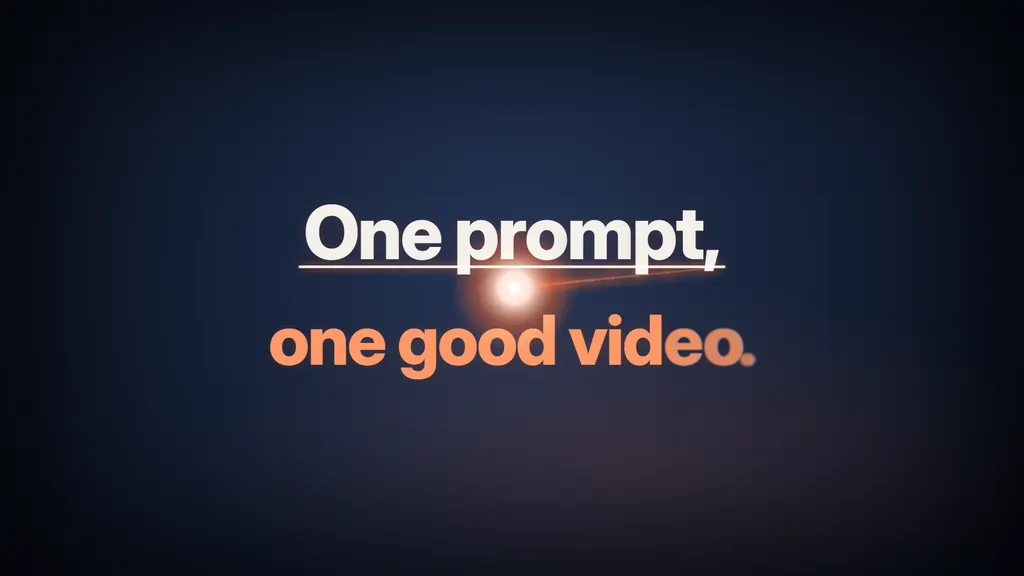
Our reel "One prompt, one good video" had no camera and no editor. The 3D desk, the animation on the monitor and the sound were drawn by code written by Claude Code, and the voiceover is a voice clone. This guide takes you all the way, from creating an account to an MP4 file on your drive. No coding needed.
- Time
- about 1 hour
- Steps
- 7
- Voice
- $0



In this guide you will learn:
- what you need and how much it costs,
- how to run Claude Code in the Claude app,
- where to paste the ready prompt and how to answer Claude’s questions,
- how to add a voiceover: a voice clone, your own recording or no voice at all,
- how to refine the video in plain sentences.
The video you will make
This is our reel. The prompt in this guide leads Claude to a video in the same style, and you set the topic, the voiceover script and the colours at the start of the conversation. You refine the details afterwards in plain sentences.
- a vertical 1080×1920 video for Instagram, TikTok and YouTube Shorts,
- a 3D desk and an animation on the monitor, all drawn by code,
- a voiceover, sound effects and word-by-word captions,
- every shot change lands on a word of the voiceover.
What you need
- Windows or macOS
A computer
A laptop is enough. Rendering takes a few minutes, so keep it plugged in.
- $20/month
Claude Pro plan
Claude Code is not available on the free plan. With annual billing Pro costs $17 a month.
Claude pricing ↗ - free
Node.js
The engine Remotion runs on, the library that draws the video. You install it once and never have to open it.
nodejs.org ↗ - $0
Voice
The free ElevenLabs plan is enough for a few reels with ready-made voices. Cloning your own voice starts with the Starter plan ($6/month). You can also record the script on your phone or make a video without a voiceover.
ElevenLabs pricing ↗
Step by step
Progress: 0 of 7
Step 1: Get the Claude Pro plan
- Go to claude.ai and sign in or create an account.
- Choose the Pro plan on the pricing page and pay by card.
Tip:The Pro plan has a usage limit that resets every few hours. It is usually enough for one video. If you hit the limit, wait and type “continue”.
Step 2: Install Node.js
- Go to nodejs.org and download the version marked LTS.
- Run the installer and click Next until the end. Don’t change anything.
Tip:If Node.js is already installed, Claude will check the version and tell you whether it needs an update.
Step 3: Install the Claude app and open Code
- Download the Claude app for Windows or macOS from claude.ai/download, install it and sign in with the same account.
- There are three tabs at the top of the window: Chat, Cowork and Code. Click Code. That is Claude Code.
Step 4: Prepare an empty folder
- In Documents or on the desktop, create an empty folder, for example
my-video. - In the Code tab, below the message box, choose to work on your own computer (local), click the folder picker and select
my-video. - Set the permission mode to Accept edits. Claude creates files on its own and asks for your consent before every terminal command.
Tip:Claude works only inside this folder. Everything it creates, the video included, ends up there.
- In Documents or on the desktop, create an empty folder, for example
Step 5: Paste the prompt and answer three questions
- Scroll to the Prompt section, click Copy the prompt, paste it into the message box (Ctrl+V, on a Mac Cmd+V) and press Enter.
- Claude will ask about the topic, the voiceover and the colours. Answer in plain English. If you want a video like ours, type “defaults”.
- Claude will show you the voiceover script for approval. Edit it or type “OK”.
- When it asks for consent to run a command, such as
npm install, click Allow.
Step 6: Choose the voice
- Option A, ElevenLabs: create an account in ElevenLabs. On the free plan you pick one of the ready-made voices, and from the Starter plan up you can record a short sample to clone your own voice. You will find the API key in your account settings. Claude will tell you where to paste it.
- Option B, your own recording: read the script into your phone’s voice recorder, save the file as
voiceover.mp3and put it in themy-video/publicfolder. - Option C, no voiceover: the video gets sound effects and title cards instead of captions.
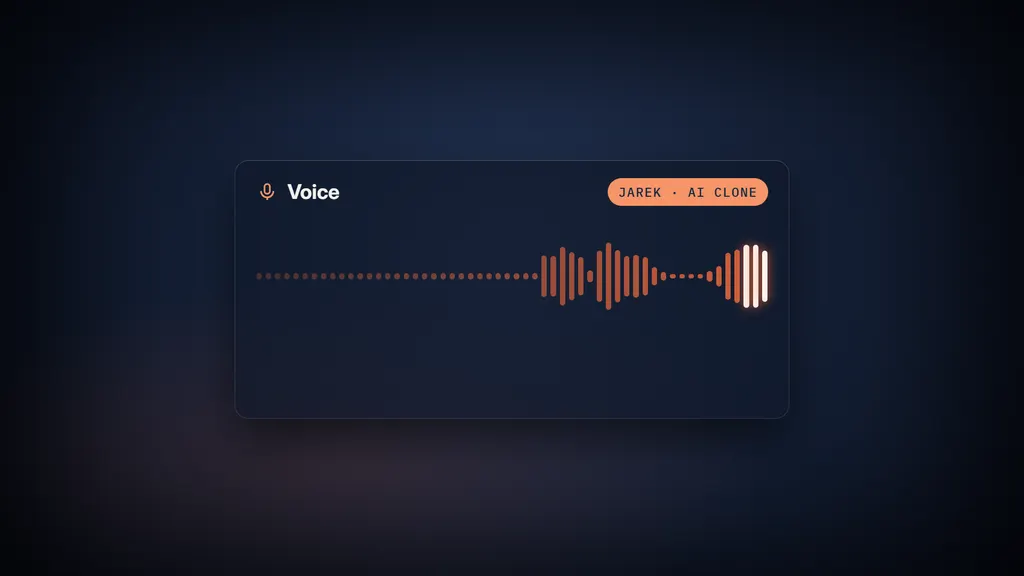
Tip:In option A, Claude asks for consent before the paid call and generates one version of the voice. Only clone your own voice or the voice of someone who agreed to it.
Step 7: Watch the preview and get the video
- Claude first makes stills of every scene, reviews and fixes them itself, and only then renders the whole thing. The work usually takes a few dozen minutes.
- To see the video before rendering, type:
open the preview in Remotion Studio. A window with a timeline will open in your browser. - You will find the finished file in
my-video/out/video.mp4.
Tip:Don’t like something? Say it in a plain sentence. There are examples in the section “How to make the video your own”.
Prompt
Copy all of it and paste it into Claude Code (step 5). We prepared the prompt with the Prompt Master skill, based on our reel. You don’t need to change anything in it, because Claude will ask about the topic, the voiceover and the colours.
You are a motion designer and a Remotion developer. Build a short vertical video (a reel) from scratch, where code draws every single frame. It should look like the work of a good motion design studio, not like slides.

<before you start>
Ask me three questions, one at a time, and wait for each answer:
1. What is the video about? Default: "how one prompt turns into a whole video".
2. Voiceover: (A) an ElevenLabs voice, I have an API key, (B) I will add my own recording voiceover.mp3, (C) no voiceover, sound effects only.
3. Colours: 2–3 HEX colours, or the defaults (navy #1A2A43, orange #E0663D, cream #F2EFEC).
Then write a voiceover script of about 17 s (5–7 short sentences with one surprising twist in the middle) and show it to me for approval before you generate anything.
</before you start>

<goal>
An MP4 file, 1080×1920, 30 fps, 17–22 s, with voiceover (if chosen), sound effects and captions. The scene: a desk at night in 3D (monitor, keyboard, desk lamp, plant, mug), and the monitor plays an animation that tells the story from the voiceover. The camera makes 4–5 shots: a wide shot with a push-in, a side shot over the keyboard, a move into the screen, a slight orbit, a rise up and away. Every shot changes on a word of the voiceover.
</goal>

<stack>
- Remotion (React + TypeScript) in the current folder. Work only inside it.
- 3D: @remotion/three, three.js and @react-three/fiber. Build the desk and objects from simple shapes and materials, without downloading models from the internet.
- Do NOT use a video texture for the monitor screen (it renders as a black screen). Project the four screen corners with the same camera and place a regular React component with the animation on them using CSS transform: matrix3d (a homography). Make sure no object stands in front of the screen, because the overlay will cover it. The screen animation is a separate 1920×1080 composition that can be previewed on its own.
- Fonts via @remotion/google-fonts: headings "Inter Tight" 800, interface "Inter" 500, code "JetBrains Mono".
- Generate the sound effects (whoosh, key clicks, bass hit, quiet ambience) in code, e.g. with a Node script that writes WAV files. No samples from the internet.
</stack>

<style>
- The room: dark, warm lamp light, vertical slats on the wall, dust particles in the air, a slight depth of field.
- The monitor animation: a radial gradient in the colours from question 3, a vignette, subtle film grain. The leitmotif is ONE light comet (bright core, fading tail, glow) that guides the viewer through every scene and links the transitions.
- Motion: expo/cubic in-out easing, nothing linear. Text comes in through a short glitch with a flash and leaves with a blur. Fast transitions with motion blur.
- On-screen text is large and high-contrast, because people watch on a phone. One point of focus at a time.
- Voiceover captions at the bottom of the frame, word by word, with the current word on a coloured badge. Keep them in the Instagram safe zone: away from the top 10% and the bottom 20% of the frame.
- All special characters must render correctly.
</style>

<monitor script>
Set the timing from the voiceover word timestamps.
S1. Rays of light converge into a point that becomes a blinking cursor.
S2. A "claude code" terminal window. Letter by letter, with key clicks, it types a command based on the video topic (default: "> make a video about how this video was made"). Above the window the heading "One prompt." appears and the comet draws an underline beneath it.
S3. The camera dives into the text, the letters scatter into streams of code lines flowing into depth.
S4. The comet draws a frame outline, and the code lines form a 3D film strip with thumbnails of scenes from THIS video.
S5. A glass "Voice" panel: a waveform synced to the real loudness of the voiceover (read it from the audio file). In option C, a waveform of the effects.
S6. The payoff: two lines of kinetic text (default "One prompt, / one good video.", the second in the accent colour). At the end all the light collapses into a single point, just like at the start.
</monitor script>

<voiceover>
- Option A (ElevenLabs): read the key from the .env file (ELEVENLABS_API_KEY), never write it into the code. BEFORE you call the API, ask me for the voice_id and confirm that the call is paid. Generate ONE version through the with-timestamps endpoint. Do not generate again without my consent.
- Option B: wait until I add the file public/voiceover.mp3. Create word timestamps locally (e.g. with Whisper). If that is not possible, estimate them from word length and show them to me to check.
- Option C: instead of a voiceover, a bed of sound effects, and replace the captions with 3–4 title cards.
- Every scene and shot change lands on the word it refers to. Save the timestamps in src/timing.ts.
- Mix: voiceover around -14 LUFS, effects always quieter than the voice, a whoosh on every transition, a bass hit on the payoff.
</voiceover>

<working rules>
- Do only what is described here. No extra scenes, logos or alternative versions.
- Stop and ask before you install anything globally, make a paid API call or delete files outside this folder.
- First check `node -v`. If Node.js is missing or older than version 18, stop and tell me in plain words how to install it.
- Every scene is a separate component in src/scenes/. Keep colours, fonts and timings in a single file, src/theme.ts.
- Order: (1) project skeleton and timing, (2) a still from the middle of every scene with `npx remotion still` into a preview/ folder, which you look at yourself and judge against <style>, (3) fixes, (4) only then the full render.
- Full render at most 3 times. If something still doesn't match the description after the third, stop and tell me what and why.
- After every stage, one line: ✅ what's done + the file path. Talk to me in plain language, I'm not a developer.
</working rules>

<done when>
- out/video.mp4 exists: 1080×1920, 30 fps, with sound.
- The comet is visible in every monitor scene and links the transitions.
- Every shot and scene change lands on a voiceover word (within 3 frames). Show me a table: word, word time, frame.
- Special characters render correctly (check on the stills).
- Finally, tell me how to open the preview in Remotion Studio and where the finished file is.
</done when>
How to make the video your own
Once the video is ready, type what you want to change in the same conversation. A few sentences that work:
- Change the colours to #0F3D3E and #F2B705, then render the video again.
- Make a horizontal 1920×1080 version for YouTube.
- Cut the video down to 15 seconds and remove the film strip scene.
- Add an end card with my logo from public/logo.png.
- The captions are too small. Make them half as big again.
If something doesn’t work
Claude says Node.js is missing
Install Node.js (step 2), close the Claude app and open it again. Then type “check Node.js again”.
The app asks me to install Git
On Windows this happens with some features. Download Git from git-scm.com and install it with the default settings.
Claude stopped halfway
Most likely you hit the Pro plan limit. Wait until it resets (the app shows when) and type “continue”. Progress is saved in the files, so nothing is lost.
The monitor screen in the video is black
Type: “the monitor screen is black, make it a matrix3d overlay as described in the prompt”. It’s a known issue with video textures in renders.
The video has no sound
Check that the voiceover file is in my-video/public. Then ask: “check that the voiceover and effects are in the render and render again”.
Some letters look wrong
Type: “fix the special characters, use fonts with the latin-ext subset”.
Can I use the video commercially?
Remotion is free for individuals and companies with up to 3 employees. Larger companies need a company license (details). Only clone your own voice or with the owner’s consent.
Want to do this with your team?
In our training sessions we show how automations like this, for video and content, work inside a company, from the first prompt to a finished process.
Sources
- Claude: plan pricing
- Claude Code: desktop app (documentation)
- Remotion: license
- ElevenLabs: pricing
- Node.js
Prices from the official websites as of 20 October 2026. AI GOATS is not affiliated with Anthropic, Remotion or ElevenLabs.